
The shot that stopped three million people mid-scroll was taken on a Samsung Galaxy S23. Not because the phone is magic — it is, technically speaking, remarkable — but because the photographer understood light, knew where to stand, and waited four minutes for a tour group to clear the frame. At Santorini, at Angkor Wat, at every blue-domed, sun-drenched location on every travel photographer's radar, the difference between the photograph you scroll past and the one you save as a wallpaper is almost never the camera. It is everything that happens before you press the shutter.
Modern phone cameras have closed the gap with entry-level DSLRs so completely that a detailed comparison is barely worth having. The variable that separates a mediocre travel photo from a compelling one is light, composition, timing, and the willingness to spend an extra ten minutes finding the angle. This is a guide to getting those things right.
Light first, everything else second
The golden rule is the oldest one: shoot during the golden hour. In the hour after sunrise and the hour before sunset, light is directional, warm, and soft. It wraps around faces, drapes buildings in colour, and turns an unremarkable street corner into something you would frame. At midday, light falls straight down and creates harsh shadows under brows, awnings, and chins. Colours flatten. Contrast becomes brutal. If you only change one habit, it is this: get up early.
That said, midday travel is unavoidable. If you are at the Colosseum at 1pm, you are at the Colosseum at 1pm. The workaround is shade. Step into a colonnade, a doorway, or a shaded archway and let the light from outside fall onto your subject as a soft, directional fill. The result is infinitely better than direct overhead sun. Use the weather tool to check sunrise and sunset times at your destination before you arrive — knowing the exact window means you can plan which location to be at and when, rather than scrambling to find somewhere interesting at golden hour by accident.
Overcast skies are underrated. Cloud acts as a giant diffuser, spreading light evenly across a scene. Colours saturate. Shadows disappear. Architecture photographs beautifully in flat light; portraits look clean and approachable. The moment people see grey skies they put the phone away, which is exactly the wrong instinct.
Rain is the best time to photograph cities. Wet streets double the visual interest with reflections. Everything looks slightly cinematic. Most tourists retreat indoors, which clears your compositions. If you have a basic waterproof case or pouch for the phone, this is when it pays for itself.
Composition: where most phone photographers leave points on the table
The rule of thirds is not a rule — it is a starting point. Divide the frame into a three-by-three grid (every phone camera has an option to display this overlay) and place your subject along the lines or at the intersections rather than in the dead centre. Dead-centre framing reads as snapshot. Off-centre framing reads as considered. It is a small change with a disproportionate effect.
Leading lines pull a viewer into an image: roads, fences, rivers, colonnades, alleyways. When you see a strong line in a scene, walk until the line leads the eye towards something interesting in the frame, then shoot. The classic version is a railway track converging to a distant station or a cobbled street narrowing towards a lit doorway.
Foreground interest transforms flat landscapes. Standing at a viewpoint with nothing between you and the horizon produces a photo that looks like every other photo from that viewpoint. Crouch down and put a flower, a rock, or even another traveller's bag in the foreground, and you create depth. The eye travels from near to far and the scene feels three-dimensional rather than like a postcard scan.
Look for frames within frames. A doorway, an arch, a gap between buildings, the hole in a rock formation — these give a shot a sense of discovery, as though the viewer is seeing something they found rather than something that appears on every tourist's camera roll. Natural frames also compress the background and draw attention to the subject within them.
Before pressing the shutter, ask one question: is this the most interesting angle available? The first angle is almost never the best one. Walk five metres to the left. Crouch down. Step into the shadow. Look behind you — the shot most people stand with their back to is often more interesting than the obvious view in front of them.
Phone camera settings worth understanding
Most people shoot on full automatic and never explore what changes when they do not.
The first setting worth exploring is ProRAW or RAW shooting. On most flagship Android phones and the iPhone 15 Pro onwards, you can shoot in a format that preserves all the sensor data rather than applying immediate processing. The files are larger, but they respond to editing far better than a heavily processed JPEG. If storage is not an issue, use it.
Exposure locking is underused. Tap and hold on a subject on the screen to lock both focus and exposure simultaneously. This prevents the phone from reacting to something walking into frame and blowing out or crushing your carefully composed shot. It takes a second to do and saves a lot of wasted frames.
Night mode has become genuinely impressive. In low light, resist the urge to switch it off because it slows things down. Night mode works by combining multiple exposures over one to four seconds. Use a ledge, a wall, or a small travel tripod to keep the phone still during the exposure, and the results in dim restaurant interiors and illuminated night markets are consistently better than a single fast shot with digital noise.
On the subject of zoom: optical zoom is useful, digital zoom is not. The iPhone 15 Pro Max has a 5x optical lens; many Samsungs offer 3x to 10x optical zoom. Move to optical focal lengths — the telephoto lens — rather than pinching to a digital zoom. The quality difference is visible in any print larger than a phone screen. For wide interiors and narrow streets, switch to the ultrawide lens rather than stepping back; it handles barrel distortion better than digital widening.
Portrait mode computes a depth-of-field blur that approximates what a wide-aperture lens does naturally. It works well on isolated subjects against simple backgrounds. It works poorly for scenes with complex foreground-background relationships — a wrought-iron fence behind a market stall, for example — where the edge detection gets confused and produces an uncanny-valley halo. Know when to use it and when to turn it off.
Editing: the six minutes that separate good from excellent
Most strong travel photos receive six to ten minutes of editing. Not because the photographer is hiding bad technique, but because even great light benefits from a small push in post.
A light edit starts with straightening the horizon — the most common small mistake, and one that is invisible until you look for it. Then adjust exposure by plus or minus half a stop, bring up shadows to reveal detail in underexposed areas, and slightly increase contrast. That sequence covers about 80% of what needs doing.
Colour grading is where people trip over themselves. The temptation to apply a heavy orange-and-teal filter to everything is large and produces results that look dated quickly. A consistent, light colour treatment — slightly warm whites, slightly cooled shadows — is less striking to look at individually and more durable to live with across a set of images.
Adobe Lightroom Mobile is the industry standard for phone editing and the free version covers everything most travellers need. Snapseed is genuinely useful for selective adjustments — the healing brush is particularly good for removing a stray tourist from an otherwise clean architectural shot. VSCO remains the best app for applying a consistent preset across a set of images without over-processing them.
The gear worth carrying
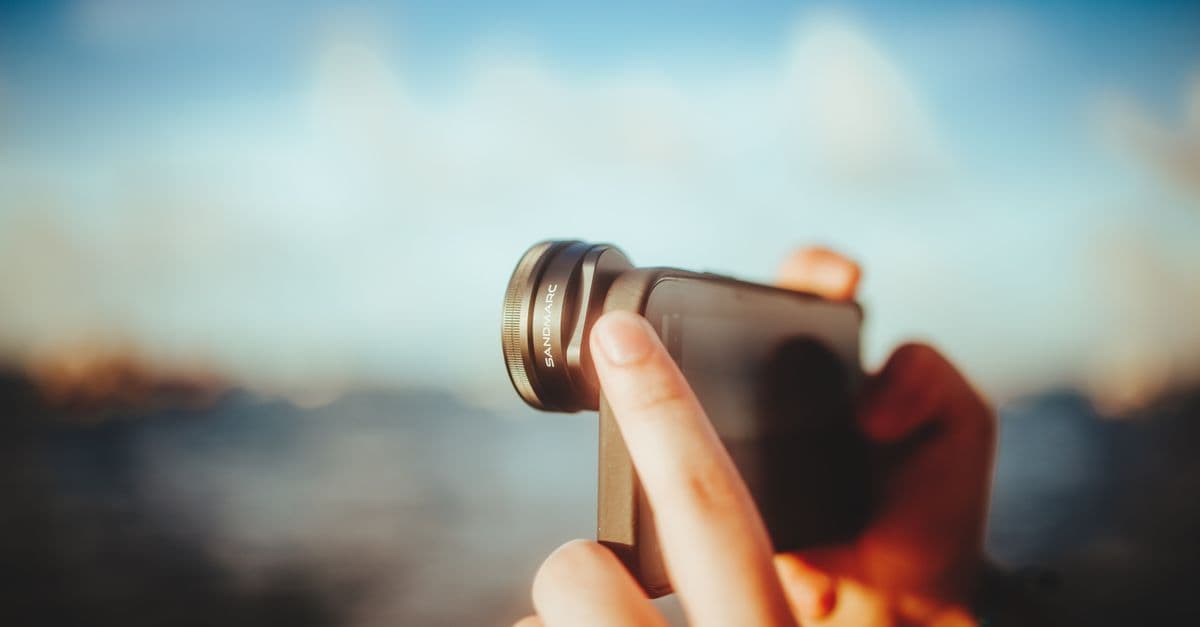
A clip-on wide-angle lens extends the field of view for tight interiors and narrow streets where you cannot step back far enough. Quality varies considerably at the budget end, so read reviews before buying. Expect to pay £15–£40 for one that does not introduce visible distortion or chromatic fringing.
A pocket tripod earns its place purely for night photography, golden-hour landscapes and the occasional self-timer group shot. The Joby GorillaPod Micro is the size of a fist when folded and weighs almost nothing. For more on keeping carry-on weight in check, the long-haul survival kit guide covers the broader question of what kit actually earns its weight on a long trip.
A lens cloth. Not glamorous. Essential. Phone lenses collect fingerprints constantly, and a greasy lens degrades sharpness in a way that no editing can fully recover. Keep one in a trouser pocket, not at the bottom of a bag.
The one habit that changes everything
The best travel photographs are not taken by people who arrive with better cameras or fancier apps. They are taken by people who give each scene a little more time — who walk around the obvious shot rather than stopping at it, who come back at a different hour, who notice the interesting thing happening in the peripheral frame while everyone else is photographing the centrepiece.
Every phone made in the last three years is technically capable of producing an image you would be proud to print large. The question is whether you give it the opportunity.
Plan your golden hour
Use the weather tool to check sunrise and sunset times at your destination — knowing the exact window helps you plan which location to be at, rather than scrambling for somewhere interesting when the light is already fading.